Remote IoT Monitoring SSH Download Raspberry Pi Ubuntu Free
Have you ever wished you could check in on things from afar, especially when those "things" are little computer brains like a Raspberry Pi doing important jobs? It's a common thought, you know, wanting to keep an eye on your home projects or perhaps a small business setup without having to be right there. This whole idea of keeping tabs on your gadgets remotely, often called remote IoT monitoring, is pretty much what we're going to chat about. We'll look at how simple it can be to get going, even if you're just starting out with these sorts of things.
There's a good chance you've heard about the Internet of Things, or IoT, where everyday items connect and share information. When you have little devices, say, a Raspberry Pi, doing a job somewhere, you might need to peek at what it's doing or even give it a little tweak. That's where remote access comes into the picture, and it turns out, there are some very straightforward ways to make this happen. We're talking about tools like SSH, which is a way to securely connect to another computer over a network, and how it fits right in with a Raspberry Pi running an operating system like Ubuntu, which is a type of Linux.
The really nice part is that a lot of what we'll discuss doesn't cost a thing. You can get the necessary tools and software without opening your wallet, which is pretty cool if you're just experimenting or working on a tight budget. So, if the thought of checking on your remote IoT monitoring setup, maybe downloading some updates, or just seeing what your Raspberry Pi is up to from your comfy chair sounds good, then you're in the right spot. We'll try to make it all seem rather simple and approachable.
Table of Contents
- Introduction to Remote IoT Monitoring
- Why Would You Want Remote IoT Monitoring?
- Getting Started with SSH for Remote Access
- What's the Deal with Raspberry Pi and Ubuntu for IoT?
- Can You Really Do This for Free?
- Putting It All Together - A Simple Remote IoT Monitoring Setup
- What Are Some Common Challenges with Remote IoT Monitoring?
- Making Your Remote IoT Monitoring Secure
Introduction to Remote IoT Monitoring
Think about a little computer, perhaps a Raspberry Pi, that's sitting somewhere, doing a job. Maybe it's checking the temperature in your greenhouse, or it's keeping tabs on a sensor in a far-off shed. You can't always be there to see what's happening with it, right? That's where the idea of remote IoT monitoring comes in. It's about having a way to watch over these devices and collect information from them without being in the same room, or even the same city, which is pretty handy. It allows you to stay connected to your small computer projects and make sure they are doing what they are supposed to do, or even to adjust them if needed. This way of doing things gives you a lot of freedom, truly.
The whole point of this kind of setup is to give you peace of mind, knowing your little gadgets are working as they should. It means you can get updates, see data, and even fix little issues from wherever you happen to be. We're talking about a system that lets you, in a way, have eyes and hands on your devices even when you're not physically present. It's rather like having a little helper always reporting back to you. This is especially useful for things that are out of the way or in places you don't visit often. You might find this approach to be incredibly useful for all sorts of personal or small-scale projects, you know, when you want to keep tabs on something without constant travel.
Why Would You Want Remote IoT Monitoring?
So, you might be asking yourself, "Why would I even bother with remote IoT monitoring?" Well, think about it. If you have a Raspberry Pi collecting data in your garden, or maybe it's running a little server in a corner of your home, you probably don't want to walk over to it every single time you need to check something. It just isn't practical, is it? Being able to connect to it from your laptop or even your phone means you save time and effort. It's about convenience, pure and simple. You can be anywhere with an internet connection and still have a window into what your device is doing, which is pretty cool.
Beyond just being easy, there are practical reasons too. What if your device stops working? If you're checking it remotely, you'll know right away, and you can try to fix it without a trip. Or perhaps you need to download some new information or send it a fresh set of instructions. Remote access makes all of that possible. It's about being able to react quickly and keep things running smoothly, no matter where you are. This kind of setup gives you a lot of control, which is really what a lot of people are looking for with their small computer projects.
Keeping an eye on your Raspberry Pi remotely
Keeping a close watch on your Raspberry Pi when it's not right in front of you is a big part of what remote IoT monitoring is about. Imagine your Pi is set up to record weather data on your roof. You want to see the latest readings, right? Instead of climbing up there, you can just open up your computer and connect to it. This allows you to see the information it's gathered, check its status, and basically confirm it's still doing its job. It's a way of extending your reach, so to speak, to your devices, no matter where they are located, which is very helpful.
This ability to keep an eye on things also means you can troubleshoot problems without being physically present. If your Pi suddenly stops sending data, you can log in, check its settings, or even restart it, all from your own desk. This kind of remote checking is incredibly useful for anything from home automation projects to small science experiments. It's about making sure your little computer is always performing its duties, and you can intervene if it isn't, which gives you a great deal of peace of mind when it comes to your remote IoT monitoring efforts.
Getting Started with SSH for Remote Access
Alright, so how do you actually connect to your Raspberry Pi from afar? One of the most common and secure ways is something called SSH, which stands for Secure Shell. Think of it as a super-secure telephone line that lets you talk directly to your Raspberry Pi's operating system. It's like having a keyboard and screen right there, even if you're miles away. The beauty of SSH is that it encrypts everything you send and receive, so your commands and the Pi's responses are kept private. This makes it a really good choice for remote IoT monitoring, you know, when security matters.
Setting up SSH isn't too tricky, honestly. Most Linux systems, like Ubuntu, which is often used on Raspberry Pis, come with SSH already built-in or are very easy to add. You'll need to make sure the SSH server is running on your Raspberry Pi and that you have an SSH client program on the computer you're using to connect from. This client is what lets you initiate the secure conversation. It's a fundamental step in getting your remote IoT monitoring system up and running, and it's quite simple to get going, really.
How to download and set up SSH on Ubuntu
If you're using Ubuntu on your Raspberry Pi, getting SSH ready for remote IoT monitoring is pretty straightforward. First, you'll want to make sure the SSH server program is on your Pi. You can usually do this by opening up a terminal window on your Raspberry Pi and typing a simple command to install the 'openssh-server' package. It's a quick process, and the system basically handles all the details for you. Once it's installed, the SSH service usually starts up on its own, ready to accept connections. This initial setup is very important for allowing you to connect from a distance, so it's worth getting right.
On the computer you'll be connecting *from*, if it's also running Ubuntu or another Linux system, you probably already have the SSH client installed. If not, you'd use a similar command to install 'openssh-client'. For Windows users, a popular free tool is called PuTTY, which you can easily download. Once you have the client, you just need your Raspberry Pi's network address and your login details. Then, you can simply type a command like 'ssh username@raspberry_pi_address' into your terminal, and just like that, you're connected. It’s a very common way to manage your remote IoT monitoring projects.
What's the Deal with Raspberry Pi and Ubuntu for IoT?
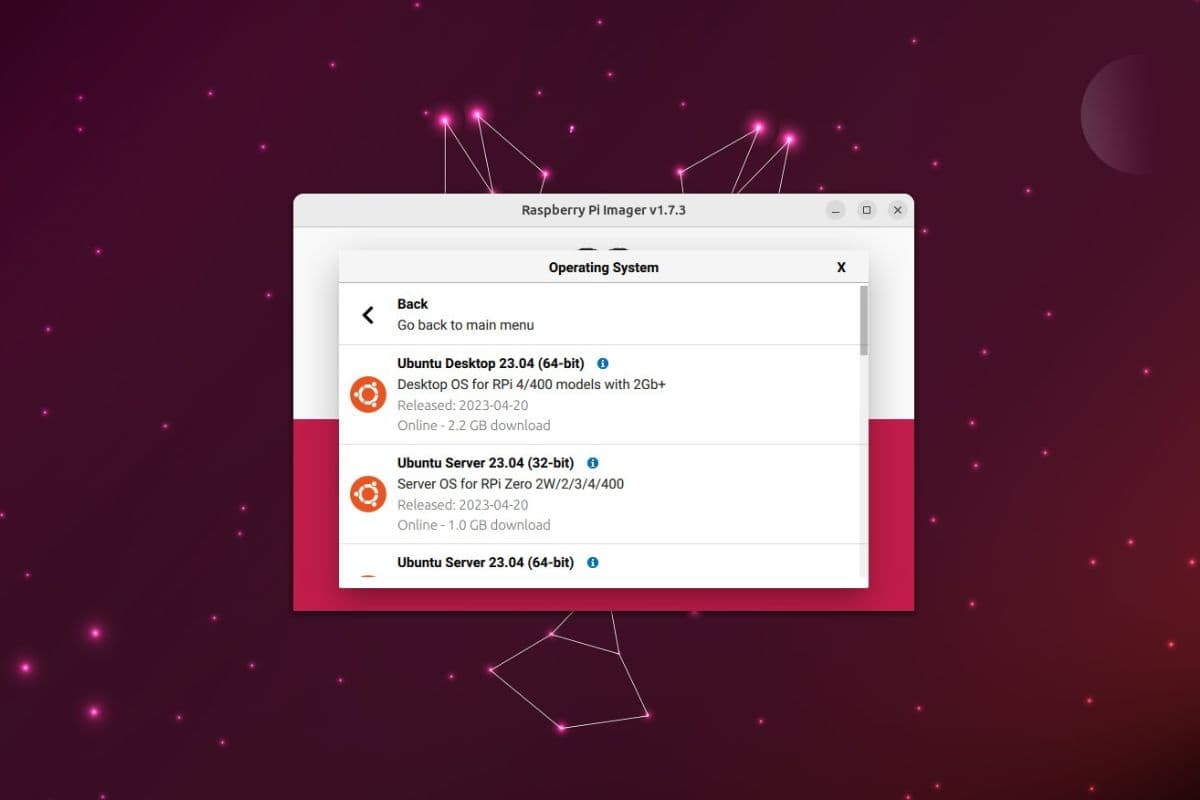
The Raspberry Pi is a tiny, affordable computer that's become super popular for all sorts of projects, especially in the world of IoT. It's small enough to fit almost anywhere, uses very little power, and yet it's powerful enough to run a full operating system like Ubuntu. Ubuntu, on the other hand, is a well-known type of Linux that's free to use and has a huge community of people who can help if you get stuck. When you put them together, you get a really flexible and capable setup for remote IoT monitoring. It's like having a miniature, dedicated computer that you can control from anywhere, which is quite useful for various applications.
Using Ubuntu on a Raspberry Pi gives you a lot of freedom. You can install all sorts of software, write your own programs, and connect various sensors and gadgets to it. It's a complete computer experience in a very small package. This combination is particularly good for IoT because it allows for a lot of customisation and control over your devices. You're not limited to what a pre-made smart device can do; you can make your Raspberry Pi do exactly what you need it to, which is a big plus for anyone serious about remote IoT monitoring.
Setting up your Raspberry Pi for remote IoT monitoring
Getting your Raspberry Pi ready for remote IoT monitoring with Ubuntu involves a few key steps. First, you'll need to get Ubuntu onto a memory card for your Pi. There are free tools available that make this process pretty easy, basically writing the operating system image to the card. Once Ubuntu is running on your Pi, you'll want to connect it to your network, either with a cable or Wi-Fi. This network connection is how you'll be able to reach it from another computer, which is, you know, pretty essential for remote access.
After it's on the network, the next thing is to make sure SSH is enabled, as we talked about earlier. Ubuntu usually has it ready to go, or it's a simple command to get it installed. You'll also want to know your Raspberry Pi's network address, its IP address, so you can tell your other computer where to connect. There are ways to find this out from the Pi itself. With these pieces in place, your Raspberry Pi is more or less set to be managed and checked on from a distance, making your remote IoT monitoring efforts much smoother. It’s a relatively straightforward process to get everything lined up.
Can You Really Do This for Free?
One of the best things about getting into remote IoT monitoring with a Raspberry Pi and Ubuntu is that a lot of the essential tools and software won't cost you a penny. The Raspberry Pi itself is an affordable piece of hardware, and Ubuntu is a free operating system. The SSH tools we've discussed are also freely available. This means you can get started with a fairly low initial cost, which is great if you're just dipping your toes into this kind of technology. You don't need to spend a lot of money to experiment and learn, which is a really nice perk, honestly.
Beyond the core operating system and connection tools, many of the programming languages and libraries you might use for your IoT projects are also open-source and free. So, whether you're collecting data, sending commands, or setting up alerts, you can often find free ways to do it. This makes it a very accessible field for hobbyists, students, or anyone who wants to try out remote IoT monitoring without a big investment. It’s a pretty compelling reason to give it a try, especially if you’re working on a budget.
Free tools for remote IoT monitoring
When it comes to free tools for remote IoT monitoring, you have quite a few options. As mentioned, Ubuntu itself is free, and the SSH client and server software are also free to use. For writing programs to control your Raspberry Pi or collect data, languages like Python are incredibly popular and completely free. There are also many free libraries and frameworks for Python that make working with sensors and sending data very simple. You can essentially build a whole system without paying for any software licenses, which is quite a deal.
For more advanced remote IoT monitoring, you might look into free data visualization tools or simple dashboards that can run on your Pi or on another free platform. There are even free cloud services for very basic data logging, though those might have limits. The point is, the core functionality for setting up, connecting to, and getting information from your remote Raspberry Pi can be achieved entirely with free software. This makes it a very attractive option for anyone who wants to get into this kind of work without a lot of upfront expense, you know, when every penny counts.
Putting It All Together - A Simple Remote IoT Monitoring Setup
Once you have your Raspberry Pi running Ubuntu and SSH enabled, bringing everything together for remote IoT monitoring is about making your Pi do something useful and then checking on it. Let's say you want to monitor the temperature in a room. You'd connect a temperature sensor to your Raspberry Pi. Then, you'd write a small program, probably in Python, that reads the temperature from the sensor and maybe saves it to a file or sends it somewhere. This program would run on your Pi, doing its job quietly in the background, which is pretty much how these things work.
To check on it remotely, you'd use SSH from your laptop or desktop. You'd connect to your Raspberry Pi, and once you're logged in, you can look at the file where the temperature data is stored. You could also run commands to see if your temperature-reading program is still active. It's like having a direct line to your Pi, allowing you to see what it's doing and interact with it as if you were sitting right in front of it. This whole process makes remote IoT monitoring surprisingly easy to manage, truly.
A basic guide to remote IoT monitoring
To get a basic remote IoT monitoring system going, here's a rough idea of the steps. First, prepare your Raspberry Pi with Ubuntu and make sure it's connected to your network. Then, enable SSH on the Pi so you can connect to it from another computer. Next, physically connect whatever sensor or device you want to monitor to your Raspberry Pi's pins. This could be a temperature sensor, a light sensor, or something else entirely, you know, depending on your project.
After that, you'll need to write or find a simple script that tells your Raspberry Pi how to read data from that sensor. Python is a really good choice for this because it's quite easy to learn and has lots of helpful resources. Once your script is running on the Pi, you can then use your SSH client on your main computer to log in and check the sensor readings. You could even set up your script to send you an email or a message if something unusual happens. This general approach gives you a very functional remote IoT monitoring system that you can build upon, which is very cool.
What Are Some Common Challenges with Remote IoT Monitoring?
Even though remote IoT monitoring can be quite straightforward, you might run into a few little bumps along the way. One common thing is getting your Raspberry Pi's network address right, especially if it changes sometimes. Another is making sure your home network allows outside connections if you want to access your Pi from outside your house, which can involve some settings on your router. These aren't huge problems, but they are things you might need to figure out as you go. It's just part of the learning process, in a way, with these kinds of setups.
Sometimes, the programs you write on your Raspberry Pi might stop running unexpectedly. Or maybe the sensor stops giving readings. Knowing how to check if your programs are still active and how to restart them remotely is a useful skill. Also, keeping your software up to date can prevent some issues, but updating remotely needs a bit of care. These are all things that people figure out over time when they are working with remote IoT monitoring, and there are lots of resources online to help you through them, which is nice.
Troubleshooting your remote IoT monitoring setup
If your remote IoT monitoring system isn't quite working, don't worry, it happens to everyone. A good first step is to make sure your Raspberry Pi is still connected to the network. You can often check this by trying to 'ping' its network address from your main computer. If that works, then the connection is probably okay. Next, try logging in with SSH. If you can't, double-check your username, password, and the Pi's network address. Sometimes, a simple typo is the culprit, you know, it happens.
Once you're logged in via SSH, you can check if your monitoring programs are running. You can use commands to see what processes are active and if any errors popped up. If a program isn't running, you can try to start it again from the command line. For sensor issues, you might need to check the wiring or the code that reads from the sensor. There are usually log files that can give you clues about what went wrong, which are very helpful. With a bit of patience, most remote IoT monitoring problems can be sorted out, honestly.
Making Your Remote IoT Monitoring Secure
When you're connecting to your Raspberry Pi from a distance, especially over the internet, keeping things secure is really important. SSH is already a secure way to connect because it encrypts your information, but there are other things you can do to make your remote IoT monitoring setup even safer. One big one is to use strong, unique passwords for your Raspberry Pi. Avoid simple ones that are easy to guess, and perhaps change the default user name if you can. It's a small step that makes a big difference, truly.
Another good practice is to keep your Raspberry Pi's software, including Ubuntu and SSH, up to date. Software updates often include fixes for security weaknesses, so installing them regularly helps protect your system. You might also think about setting up something called SSH keys instead of just passwords. This is a more secure way to log in that doesn't rely on you typing a password every time. Taking these steps helps ensure that only you can access your remote IoT monitoring system, which is very important for peace of mind and protecting your data.


Detail Author:
- Name : Annie Beatty
- Username : veda.hickle
- Email : lester50@frami.com
- Birthdate : 1974-10-02
- Address : 14807 Jamarcus Skyway East Bradenburgh, GA 33689-8219
- Phone : +1.814.989.0190
- Company : Cole, Brown and Kuphal
- Job : Securities Sales Agent
- Bio : In voluptatem ut est quisquam. Maxime qui eaque aliquam quod expedita. Repudiandae itaque ut placeat in.
Socials
tiktok:
- url : https://tiktok.com/@esther_mraz
- username : esther_mraz
- bio : Ab nihil doloribus est neque tempora sequi aliquam.
- followers : 6906
- following : 804
facebook:
- url : https://facebook.com/esther_mraz
- username : esther_mraz
- bio : Qui cupiditate rerum doloribus voluptatem.
- followers : 763
- following : 1199
twitter:
- url : https://twitter.com/esther.mraz
- username : esther.mraz
- bio : Qui nemo omnis dolores ab iusto vitae in. Tempora suscipit quia quisquam sunt qui libero. Maiores illo ad autem qui dignissimos ullam.
- followers : 823
- following : 2454
linkedin:
- url : https://linkedin.com/in/esther_mraz
- username : esther_mraz
- bio : Eligendi magni magnam distinctio.
- followers : 5750
- following : 1866
